

Tired of the same old designs on the market? Want to own a pair of shoes with a unique Ornament pattern? This step-by-step tutorial teaches you to make your own PVC shoe Ornament with low-cost materials! No professional equipment needed, and even a beginner can easily handle it ✌️
Prepare materials & tool list
Category
List of items
Core material
Make tools
Bonding accessories
Design assistant
✅ PVC board (recommended thickness of 1-3mm, transparent/colored/laser effect available as required)
Scissors/pen knife; oil-based marker; ruler; cutting mat; heat gun/hair dryer (optional)
🔩 Strong back adhesive (3M double-sided tape); 🧵 Small rivets punch (for three-dimensional assembly)
Printed design drafts; transfer tape; acrylic paint/markers (for hand-coloring).
Purchase Tips:
- PVC board: For hand cutting, select 1-2mm (easy to cut); for three-dimensional modeling, select 3mm (with better support);
- Double-sided adhesive: “Nano-invisible glue” is recommended, as it can be removed without damaging the shoe surface;
- Safety first! When cutting, wear protective gloves; when hot-molding, keep the workspace ventilated.
A Step-by-step guide to making PVC Shoe Ornament: even if you have no prior experience, you can handle it!
STEP 1️⃣ Design your Shoe Ornament pattern for your shoes
1. Hand-drawn Method for Shoe Ornament
Sketch the pattern directly on the PVC board for your Shoe Ornament with oil-based pens—this ensures the design fits the size and shape of your intended Shoe Ornament. If you make drawing errors, simply erase them with alcohol (a quick fix that won’t damage the PVC material, keeping your Shoe Ornament design on track).
2. Digital Method for Shoe Ornament
First, design patterns for the Shoe Ornament on platforms like Canva or Photoshop—focus on proportions that match the Crocs or shoe style your Shoe Ornament will decorate. Then print 1:1 drafts of the pattern, and mark key dimensions (e.g., length, width of decorative elements) clearly on the draft. This step prevents size mismatches when transferring the design to PVC for your Shoe Ornament.
💡 Practical Design Tips for Shoe Ornament
- Simplify pattern lines: Try to keep the pattern lines of your Shoe Ornament simple and slightly thick. Thin lines are harder to cut cleanly during the Shoe Ornament production process, which may lead to uneven edges or broken details.
- Reserve gluing margins: When drawing or designing the Shoe Ornament pattern, leave a 1–2mm margin for gluing (make the overall pattern 1–2mm larger than the main decorative part). This avoids glue overflow onto the visible surface of your Shoe Ornament, keeping the finished look neat.
- Ensure symmetrical consistency: For symmetrical patterns (e.g., heart-shaped, floral motifs) for your Shoe Ornament, fold the paper draft in half and align the edges. This trick helps keep both sides of the pattern identical, ensuring your Shoe Ornament has a balanced, professional appearance.
STEP 2️⃣ Transfer the pattern & Cut out
Method 1: Direct Cutting for Simple Shoe Ornament Shapes
Then cut along the pattern lines with a sharp utility knife or scissors (this method works best for simple shapes like small hearts, letters, or basic circles for your Shoe Ornament, as complex curves may be harder to control with direct cutting).
Method 2: Progressive Carving for Intricate Shoe Ornament Patterns
For the curved parts of your Shoe Ornament pattern, cut slowly in short, small sections (instead of long, continuous cuts) to maintain control over the knife.
A key rule: If your Shoe Ornament pattern has both inner and outer outlines (e.g., a hollow star or a letter with a cutout center), always cut the inner outline first, then the outer one—this prevents the PVC blank from collapsing and ensures the inner details of your Shoe Ornament stay intact.
💡 Smooth-Edged Trick for a Polished Shoe Ornament
After cutting out the basic shape of your PVC Shoe Ornament, use fine-grit sandpaper (240-grit or higher) or a small emery board to gently smooth out any rough cut marks, burrs, or uneven edges on the PVC surface.
- This simple step eliminates sharp or jagged spots and gives your handmade Shoe Ornament a more refined, professional finish—critical for making your Shoe Ornament look neat and comfortable to attach to shoes.
STEP 3️⃣ 3D Shaping (Optional)
Want to create a 3D effect? A hot air gun can help you!
- Secure the PVC Blank First
- Heat the PVC Evenly for Shaping
- Shape Quickly & Lock the Form
As soon as you finish shaping, immediately dip the PVC into cold water (or spray it with cold water) to lock the shape in place—this step ensures the Shoe Ornament keeps its 3D form even after being attached to shoes or exposed to daily wear and slight pressure.
STEP 4️⃣ Coloring & Decorating
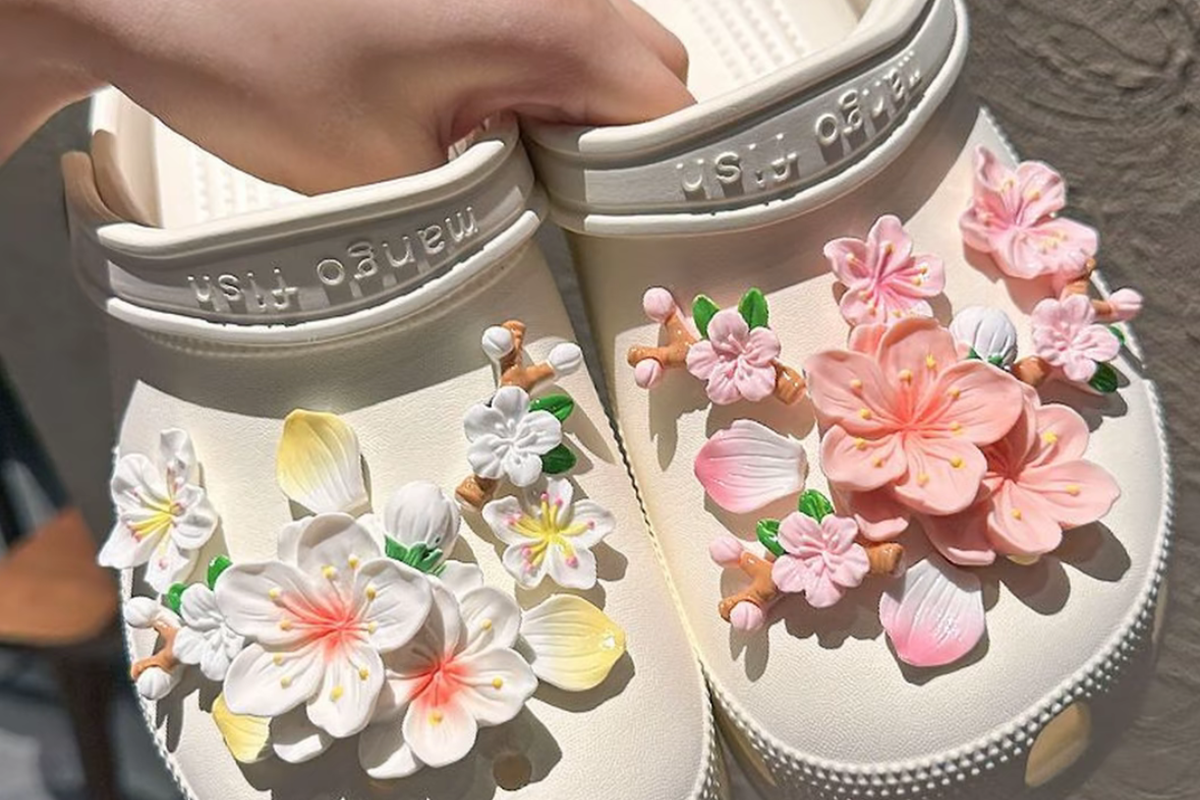
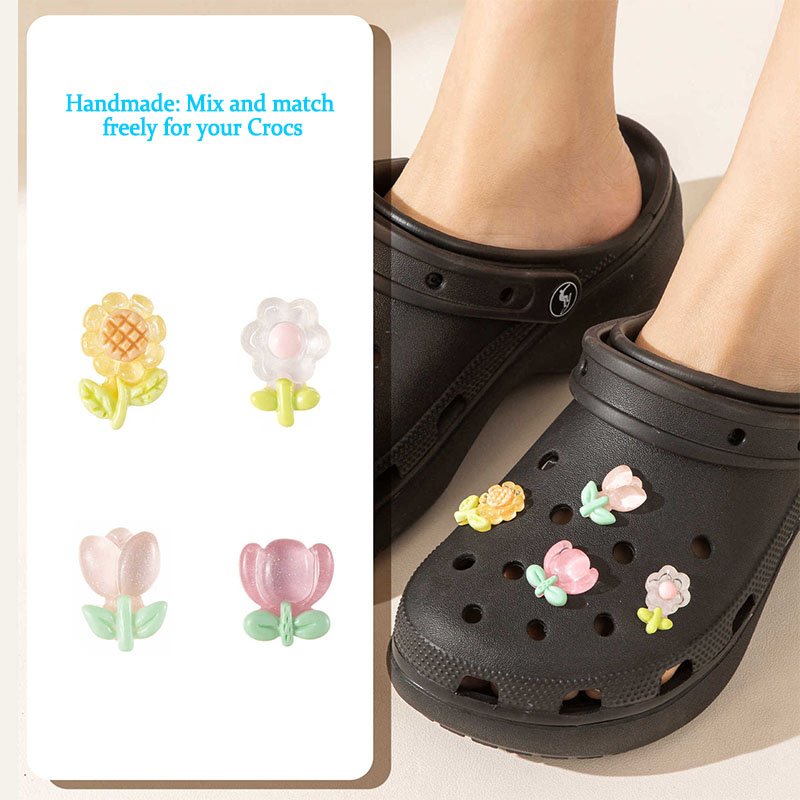
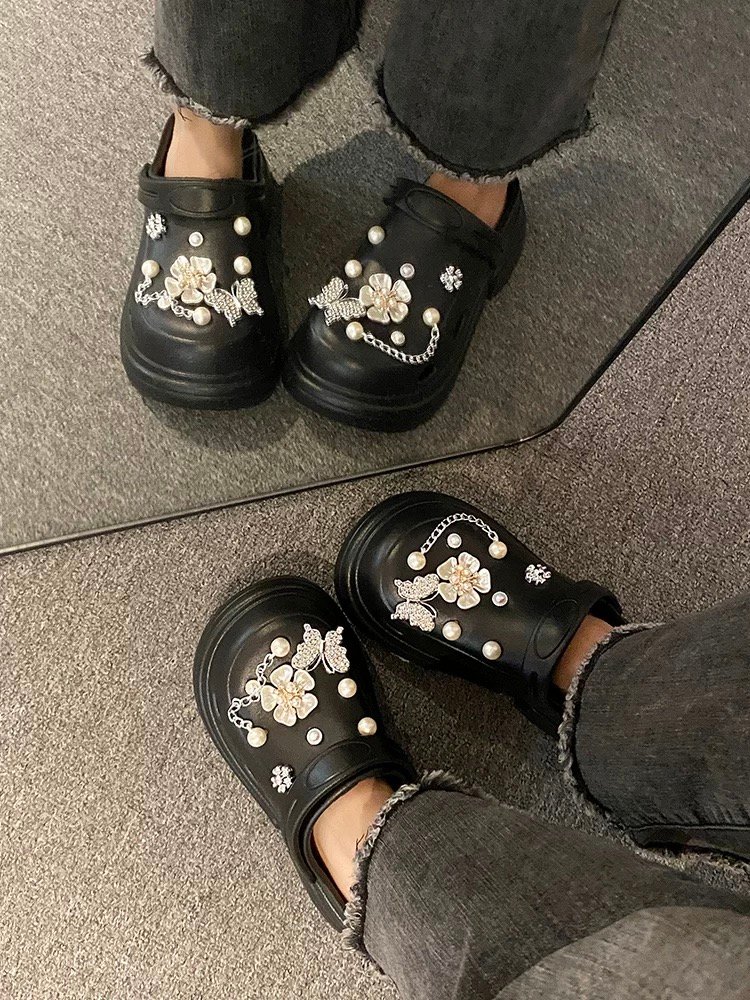
Try adding tiny flowers, dotted borders, or mini initials to your Shoe Ornament (e.g., a red PVC star Shoe Ornament with white dotted outlines) to make its design more vivid and distinctive.
- Add Sparkle with Sequins/Crystals: Use a small amount of UV glue to stick mini sequins or tiny crystals 💎 onto the surface of your Shoe Ornament.
- Focus on key areas like the edges of the pattern, the center of a floral design, or around letter details—this adds subtle shine without overcrowding, making your Shoe charm stand out on shoes.
- Create a Glossy Finish with UV Glue: Apply a thin, even layer of UV glue to the front of your finished Shoe charm (avoid the gluing margin to prevent overflow). Cure it with a UV lamp for 30–60 seconds—this forms a hard, glossy coating that protects your Shoe charm from scratches and gives it a professional, “store-bought” shine.
- Add Holographic Flair: Cut a small piece of holographic sticker film to match the shape of your Shoe charm. Stick it onto the front of the Shoe charm—when light hits it, the film reflects rainbow-like colors, instantly boosting the visual layering of your Shoe charm (great for trendy, eye-catching styles).
STEP 5️⃣ Peel the backing glue
- Cut the 3M tape to be slightly smaller than the shoe accessory
- Peel off the white paper from the tape, then stick it on the back of the shoe accessory
- Press down firmly with a round-headed tool (to avoid air bubbles)
STEP 6️⃣ Assemble the 3D components
- Punch holes at the connection points of the layers
- Insert the rivets, then press the rivet heads on the back with a pair of flat-nose pliers to secure them
🌈 An Ultra-Practical Inspiration Library
Style
Recommended design
Performance highlights
Cute daily life
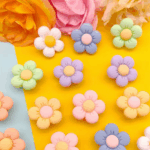
Macaron color clouds☁️ stars⭐
Essential age-defying tool for soft girls
Trendy street style
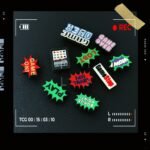
Fluorescent zigzag edge metal rivet
Dark style street weapon
Minor art
Abstract line face/pop dots
Gallery girl alike
Practical customization
Name initials birthday numbers
A clever trick to prevent taking the wrong pair of your decorated Crocs
Festival exclusive
Christmas tree🎄/pumpkin lantern🎃arrow🏹
Take a photo of your DIY Crocs against a nice backdrop, and let your creation be the star of the show!
⚠️ Pitfall Avoidance Guide: Common Pitfalls for Beginners
❌ Cutting cracks → Blade is not sharp enough / You apply too much force! Replace the blade regularly and control your force
❌ Thermoplastic deformation → Temperature is too high! Test the temperature with scrap PVC first
❌ Backing glue peels off → Wipe the shoe surface clean with alcohol before pasting! Press firmly for 10 seconds before wearing to ensure adhesion
❌ Dye bleeding → Be sure to choose oil-based pens! Water-soluble ones will smudge when they come into contact with sweat
💼 Professional-Level Gear Recommendations for DIY Enthusiasts
- Laser cutter: Affordable home-use models (around $100–$300) cut complex shapes precisely, saving manual cutting time
- Small injection molding machine: Lets you create custom 3D molds, enabling efficient bulk production
- UV printer: Prints color patterns directly on materials, eliminating the need for manual coloring
💖 Matching Heart Decor: Creative Pairing Ideas
- Pair with small elements for layering:Stack a mini heart (3D-shaped or flat) with tiny letters (e.g., initials like “L” “M”) or small flowers on the shoe toe—creates a cute, layered look without overcrowding.
- Color-coordinate for harmony:If your heart decor is pastel pink, match it with light blue or white auxiliary decorations (e.g., small white sequins around the heart); for bold red hearts, pair with black or gold accents to make the heart stand out.
- Asymmetric/symmetric placement:Place one heart on the left shoe’s side and a matching small star on the right shoe (asymmetric, playful); or put two identical hearts on the inner sides of both shoes (symmetric, neat)—suits different style preferences.
- Mix materials for texture:Combine a glossy acrylic heart with a matte fabric heart (e.g., felt heart) on the same shoe—adds texture contrast and makes the decor more vivid.
- Ensure secure adhesion for small layered elements
- Avoid overcrowding to keep the look neat
- Test color harmony before final pasting
- Avoid placing decor on shoe flex points
- Match glue to decor materials
- Keep style consistency
- Bookworm Student Pencil Charms Absolutely Adorable $0.4-$4.25
From strawberry textures to cute paw prints, every charm captures the playful essence of its theme with artistic flair. A dream come true for aesthetic-loving stationery fans.
- Adorable Cat Straw Covers Cap $0.6-$4.25
effortlessly capturing the hearts of young girls and pet lovers—perfect for stylish photos and sharing online.
- Bad Bunny Holey Key Plate Keychain $0.8-$6.00
Bad Bunny PVC Soft Rubber Figurine, Keychain Pendant, Cartoon Soft Rubber DIY Accessory, Gift Keychain`


